The two side decks and the front deck fit into the stem have been epoxied and screwed into place.
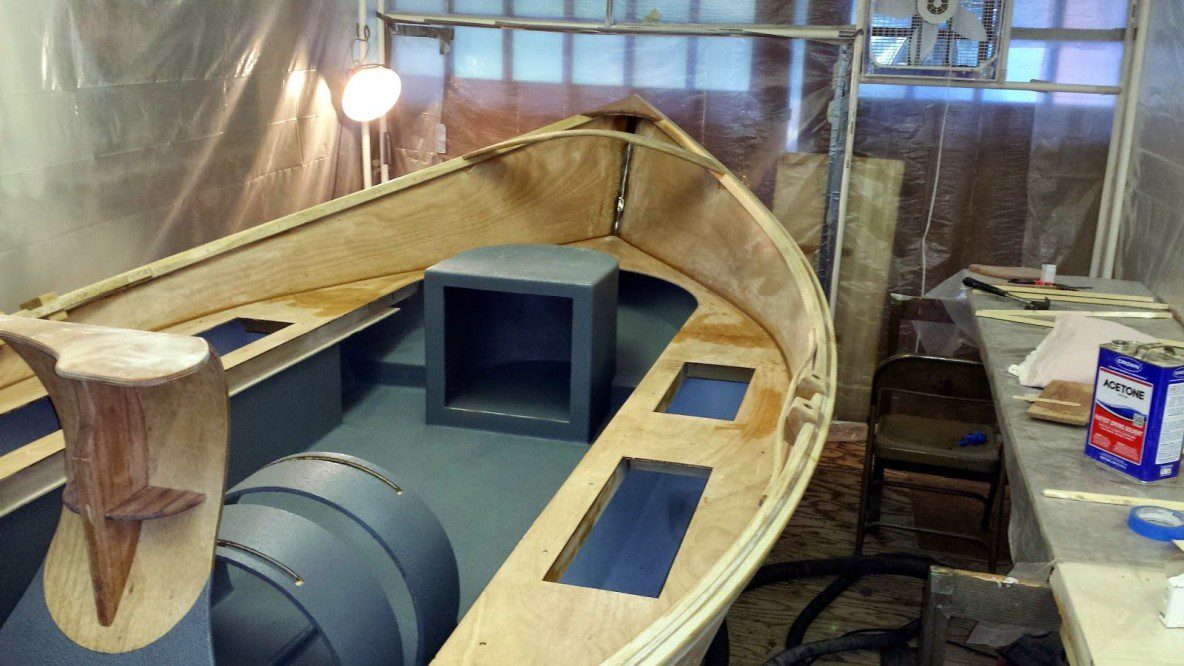
With the completion of the paint job on the interior it is finally time to permanently install the two side decks which will cover the dry storage compartments and the front deck that fits into the stem.
Installing the Deck Pieces
The three deck pieces have been previously fit and the screw holes drilled and countersunk for wood plugs. I had to do a little prep work prior to installing them.
I first sanded the interior plywood sides above the Durabak paint with 220 grit paper with my 5″ random orbital sander. I also finish sanded the gunnels inside and out with 220 grit sandpaper. Once that was done I sanded the tops of the deck frames with 80 grit sandpaper to prepare them to receive thickened epoxy to glue the tops down.
I next vacuumed up all the saw dust created doing the prep work. I then mixed up a batch of thickened epoxy to use as glue. I used 1 ounce of fast set hardener and 2 ounces of the compatible resin. Once mixed I added wood flour to thicken the epoxy to the consistency of a normal glue. I coated the tops of the dry box frame work and then carefully placed one of the side deck tops. Once aligned with the pre-drilled screw holes I used #8 x 3/4 silicon bronze screws to attach the deck piece. I repeated the process with the opposite side and the front deck.
Epoxy Fillets
Once the decks were epoxied to the framework the next step was using epoxy peanut butter to install fillets at the joint of the decks to the interior sides.
I used 3/4″ blue masking tape and masked a line on the decks and on the sides so I had a finished fillet of about 3/8″. This is about the size of a rounded wooden tongue suppressor. Using masking tape insures a nice straight fillet and minimizes the cleanup and sanding. The key is to (a) take your time and mask straight true lines (b) mix the peanut butter to the proper consistency, it must be firm and non sagging, and (c) to let the epoxy fillet set up long enough prior to pulling the masking.
Once the masking was pulled, I let the epoxy fillet set up a bit more and then wet one of my fingers in a protective glove with acetone and swiped it down the length of the fillets. This smooths the fillet out nicely.
 The 3/8″ epoxy fillet is smoothed out a finger in a glove with acetone.
Once it sets up and hardens it just needs a little detail sanding by hand and then it can be flow coated with epoxy.