The rigging diagram below is from the “Boles Float Rite” website. This diagram is the recommended rigging by “Boles Float Rite”.
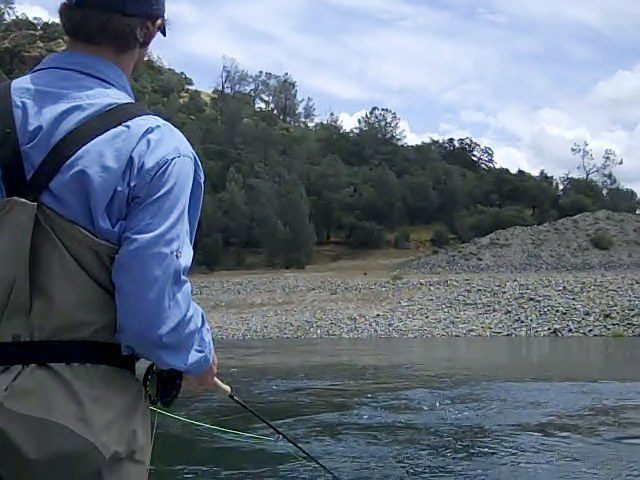
The rigg that I’ve been schooled on by fish guide, Mike Hibbard, is a little different. Lets talk in general terms and assume that you’re using a Boles, Thingamabobber or Frogs hair adjustable, pegged corkie or whatever indicator you prefer. This would be Mike’s Lower Sacramento Rigg.
 1. Set the indicator about 24″ +/- down from the fly line butt.
2. Start will a 9 foot or 10 foot, 2x tapered leader.
3. If you’re starting with a tapered leader that has been shortened, extend this down with 2x mono so that you can tie a double surgeons knot or a blood knot 9 ft. below where the indicator is set. This is a good time to note that if you are going from monofiliment to Fluorocarbon tippet you need to up size the mono one size, for example 2x mono to 3x fluorocarbon.
4. This is where you will place your shot. The shot goes above the knot.
5. The tag end from this knot at 9 ft. should extend at least 24″ so you can tie your 1st fly at 16″ to 18″ below the shot. Use 3x fluorocarbon.
6. Tie a 22″ piece of 4x fluorocarbon to the hook bend of the 1st fly and tie the 2nd fly 16″ to 18″ behind the 1st fly.
7. Tie a second 22″ piece of 5x fluorocarbon to the hook bend of the 2nd fly and tie a third fly 16″ to 18″ below the 2nd fly.
This rigging is based upon the 1st fly being the largest the second fly smaller and then the 3rd fly smaller still.
Note: When working with fluorocarbon and tying two pieces together, use a triple surgeon’s knot
Summary
You’re now good to go. You can then lower the indicator as required in different sections of the river or move it back up.
Thank Mike Hibbard in person at 530-526-5535. Get out on the Lower Sacramento River or the Trinity River with him. He’ll show you the ropes. He’s taught me!