Rigging and Fishing Soft Hackles

wetfliesWhen summer comes around here in Northern California and the caddis get busy I look forward to fishing soft hackles and emergers. This means I can forget about worrying about a dead drift presentation for a while. Well, sort of anyway.

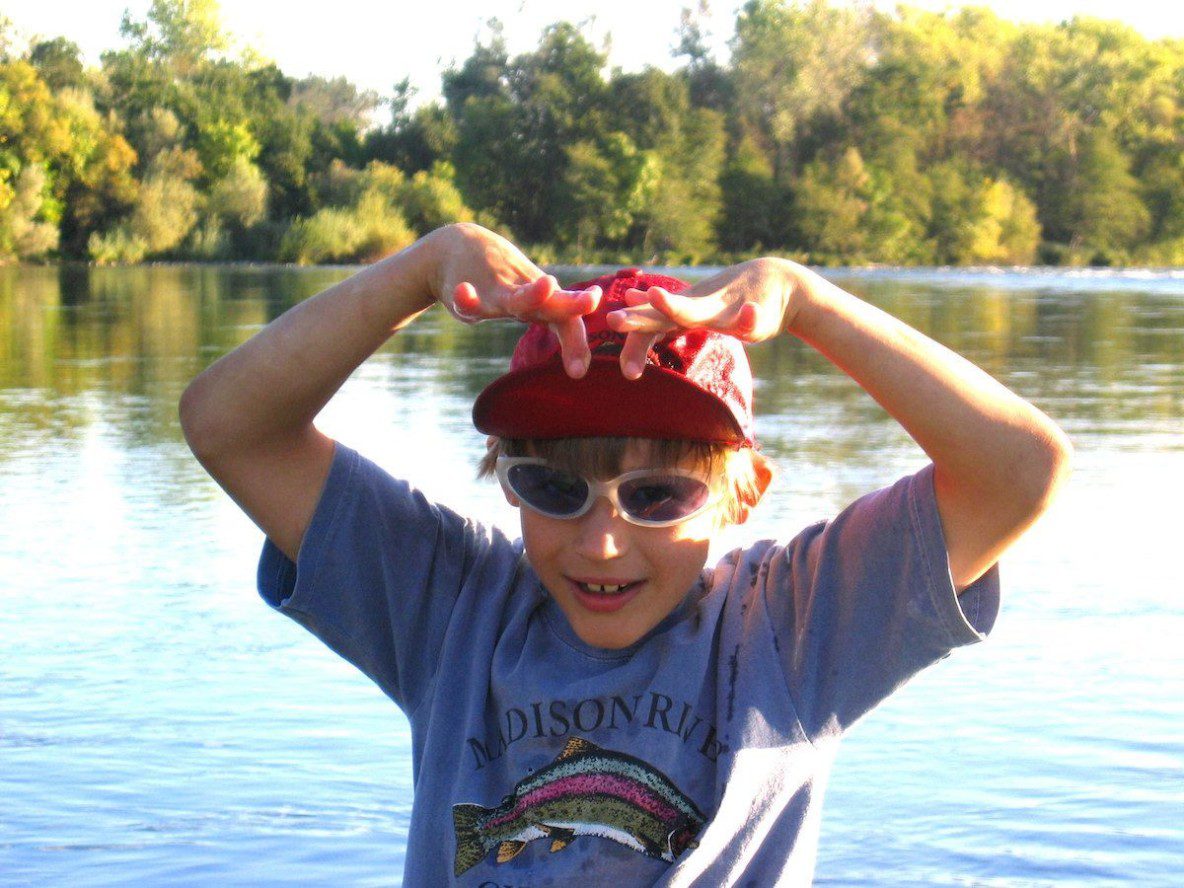
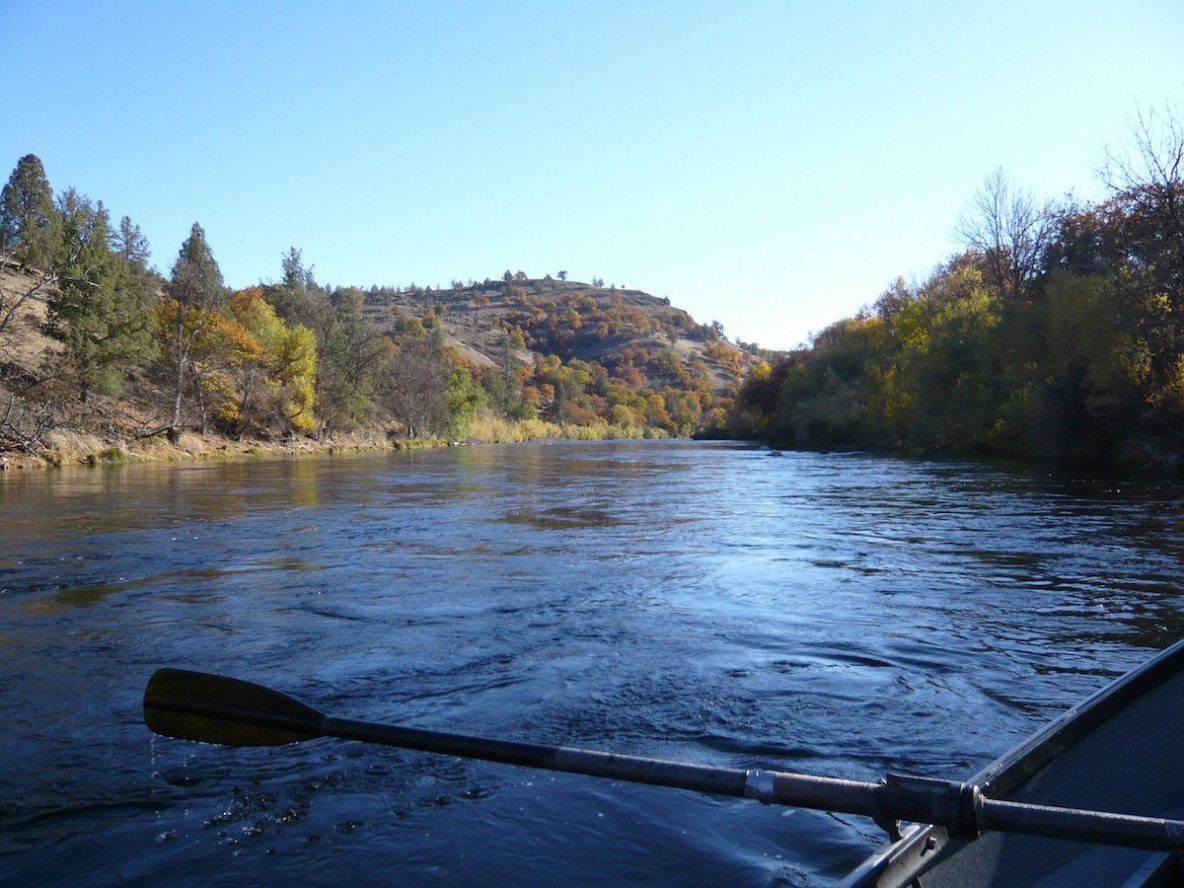
I look forward to heading down to the Lower Yuba River in the late afternoon, usually about 5:30 or so and fishing until dusk. What I’ll look for is a run that is below an active, semi-bouncy riffle with a run below it that has depth of 4 to 6 feet. If it has a distinct dropoff at the bottom of the riffle that’s even better.

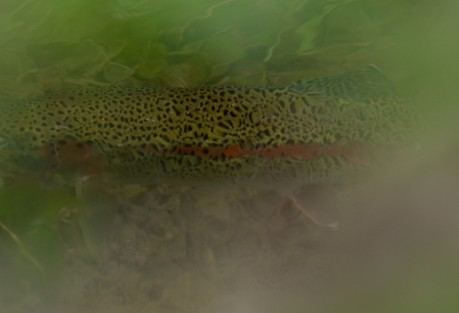
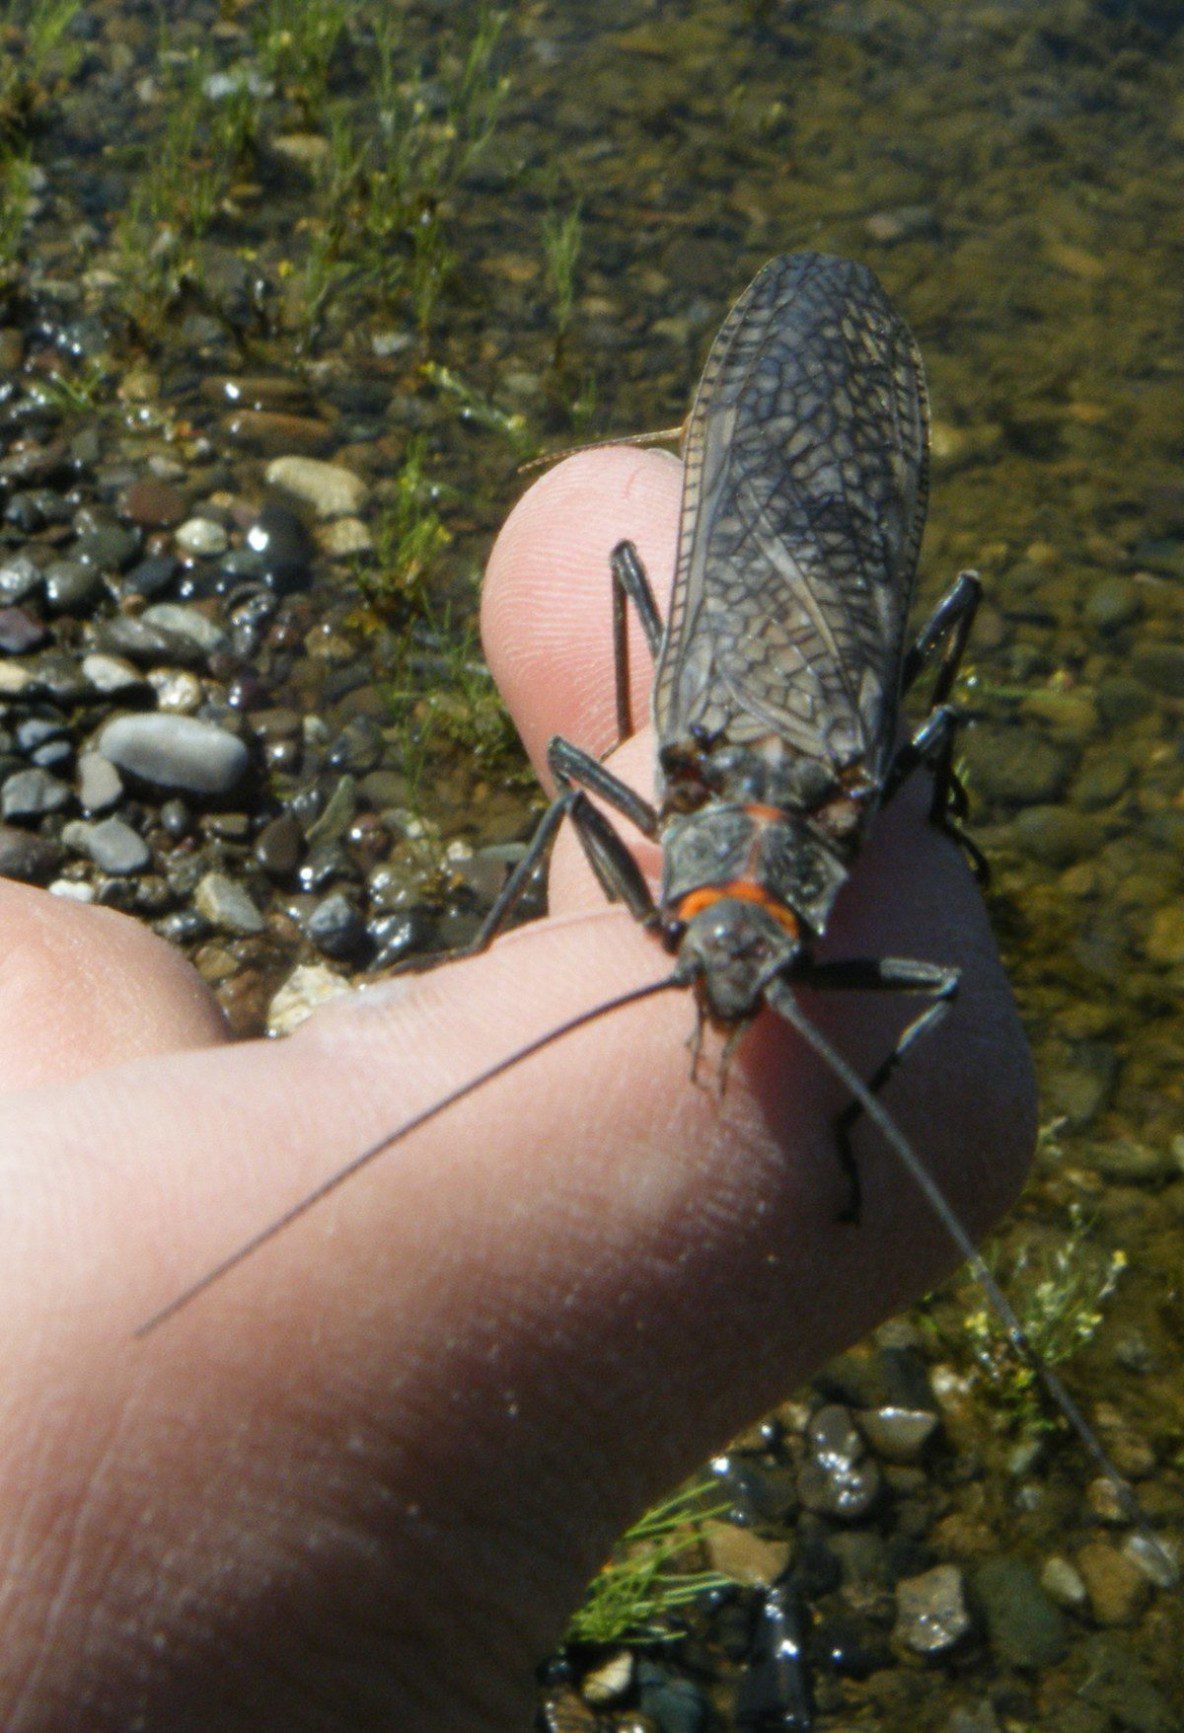
On our local Lower Yuba River we can get a mixed hatch on most evenings. We can have micro caddis, larger summer caddis, mayflies, spinners and PED’s late.

I would highly recommend on of my favorite books, Wet Flies, by Dave Hughes, to any one who really wants to understand the principles of fishing and tying soft hackle flies.

Rigging for Fishing Soft Hackles

When rigging for fishing the summer evening hatches I want to give the fish options for what it wants to eat. I rigg to offer the fish different options with a visible dry or cripple as my first fly, an emerger or pupa for the second fly, and a soft hackle for the third, bottom fly.

The rigging method is as following.

(1) Rigg a 9 foot tapered leader off your 18″ to 24’ butt section off your fly line.

(2) Add a 24″ of 4x fluorocarbon tippet to the tapered leader with a surgeons knot leaving an 8 inch tag on the downward side.

(3) Tie your dry fly or cripple to the tag end. My favorite fly is a Quigley’s Cripple for this one.

(4) Add another 36″ piece of 5x fluorocarbon to the 4x tippet, leaving another 8″ tag on the downward side.

(5) Ties your emerger, pupa, or floating nymph that matches the hatch to the tag end. This selection will change depending on the hatch sequence and what the fish are locking into.

(6) Tie your favorite soft hackle at the end. I have been tying my soft hackles with a beadhead so the soft hackle gains depth during the drift and then sweeps up at the end of the drift.

Presenting the Flies

The goal when presenting the flies is to spot rising fish and preferably an individual fish to target. The fish typically are focusing on the emerging bugs and not the bugs on the top. You want to position yourself a good ways above the fish, 30 feet more or less, and about 10 to 20 feet inside of the fish. Careful and stealthy wading is important to gain the correct position.

First Option During the Drift

(1) The presentation cast will be across and slightly downstream to quartering downstream at the most. The best presentations will be quartered downstream.

(2)Target a spot about 10 to 15 feet above the targeted fish.

(3) Deliver your presentation cast and immediately make a big upstream mend. It also works well to cast the flies further than the line you want to fish and pull them back to just where you want them.

(4) Adjust your drift and them make another smaller mend.

(5) Dead drift your flies down to where the targeted fish is located.

(6) When you reach that zone, be alert for a take on the dry, a flash of a fish, or the dry to disappear like an indicator.

(7) Raise the rod tip smoothly if you see of even suspect a take.

Second Option on the Drift

If there is no obvious indication of a take try the next option.

(1) Present your flies as per the First Option.

(2) Throw small upstream mends from time to time to slow the drift of the flies.

(3) When your flies are in the zone, clamp of the line with your rod hand loosely with your finger tips. <br.

(4) Leave a loop of line that is about 10″ below the rod.

(5) Let the flies swing and rise in the water column. This is when to expect a time. If you feel a tug just let the loop of line slip out of your fingers and raise the rod tip. If you set to hard you will “rip the lip” or bust off.

(6) If there is no take let the flies swing to the point directly below you. let the flies dangle in the current. This is another point where fish will follow and then take.

Remember it is always best to carefully wade into a position where you can make a quartering downstream presentation rather than extending your cast to reach the fish and casting more directly across stream. Sometimes though your don’t have a choice if you are fishing right at a dropoff and the fish are up and feeding.

Final Thoughts

Using this technique is one of the funnest ways to fish an evening hatch and can bring you some of the most memorable fishing of the summer.

Good Luck!

Knott Creek Reservoir, Nevada

On our yearly summer trip to Montana, Zack and I decided than we would travel there through the Boise area, and stop and see my Mom, Dad, and my brother and his family in Emmett, Idaho. Mom, Laura, decided to let the boys take off early and she’d fly in. We decided we would drive to Winnemucca, NV and head north through eastern Idaho and go through Emmett. We would then head through Stanley Idaho, which is the head waters of the Salmon River, go through the town of Salmon, head over the pass to the Big Hole Valley and then on to Bozeman. The trip took us 4 days but the scenery, the fishing, and visiting family was well worth the option of bombing through straight.

So, as for fishing, I decided to stop overnight at Knott Creek Reservoir. I have heard stories about Knott Creek for years, as a top notch stillwater destination, but with disclaimers that the road is pretty rough and that it wasn’t for the faint-hearted. I said to myself, “I’ve got a big Ford diesel, 4 wheel drive, new tires, motor freshly tuned up for a long road trip. It can’t be that bad”. Well in a way it was that bad, especially towing a drift boat raft on a trailer. In retrospect I should have stopped at the end of the gravel road and chained the boat and trailer to a fence post or telephone pole. There aren’t any trees. Problem was that all my fishing and camping gear were inside so that really wasn’t an option.

To get to Knotts Creek Reservoir, at least they way we went, you go to Winnemmuca, Nevada and then head north on Highway 95 towards Orvada. You then take a left turn on Highway 140 going west. You go about 3o miles on a paved road and then the rest is improved gravel road with the last 5 miles single track dirt. That’s the good part. The last stretch is dirt trail and in the last 1 1/2 miles is rutted and you need to maneuver carefully to avoid deep eroded ruts, mainly from previous people 4 wheeling there way in, when it was wet and muddy. Fortunately for us it was bone dry except for a few easy creek crossings. You just had to stick it in low range 4 wheel drive and go slow. Crawl your way through. As a word to the wise, if you’re going to try this when its wet, you’d be best off taking two vehicles, chains for pulling out your partner if you get stuck, shovels, high lift jacks and such. You get the picture?

knott-creek-reservoir-nevada-02We finally crested the last ridge and the road leveled out with a slight downhill.

We finally got our first look at our destination.


knott-creek-reservoir-nevada-03Zack was a pretty happy camper when we finally arrived to a final creek crossing. Being we were about 20 miles from the only ranch we had passed I figured that that last creek crossing just was not worth the risk.

Who wants to be stuck in a creek crossing that far from civilization? We decided to camp right there and hike in to fish the next morning.


knott-creek-reservoir-nevada-04It was approaching dusk, so we hiked in to get a closer view of the lake.

We saw multiple rising fish at the inlet where Knott Creek enters the lake, so we had a good idea of where to head the next morning.

We got up early had a quick bite and started hiking as the sun was just reaching the ridge tops.


knott-creek-reservoir-nevada-05We hiked the road down and Knott Creek headed down to the lake at the base of the meadows off to the right.


knott-creek-reservoir-nevada-06As we hiked along, we encountered a bunch of interesting rock formations that were along the road.

We had not seen anything like these until we got within a mile or so of the lake.


knott-creek-reservoir-nevada-08This is where we camped just on the other side of Knott Creek.

This shot is looking back as we headed to the lake.


knott-creek-reservoir-nevada-01We finally got to the lake and were ready to give it a go. The creek comes into the lake at the left.

This area of the lake is very shallow and the fish coming in to feed last night were in shallow water 1 to 2 feet deep.

The water is crystal clear so we headed to the right side of the lake to fish from the rocks where I expected it to be deeper.


knott-creek-reservoir-nevada-09There were weed beds close to shore and in pockets working away from the shore. I noticed fish cruising in and along the weed beds so I decided to try a damsel fly nymph. I had only brought a dry line, as all my stillwater gear was buried in the boat.

I did have one stillwater box available so I just went simple style, a rod, a dry line and one fly box. Just like old times, simple. I decided not to carry my pontoon boat 3/4 of a mile, so fishing from the shore was the best choice.

Although I later took my boots and socks off and waded knee deep too keep out of the weed beds a bit. I was able to take some real nice rainbows using a sort 1″ retrieve.

This lake would be simply awesome in a float tube or pontoon boat. I’ll do that next time when I dedicate a whole weekend for fishing this like.

As Arnold says “I’ll be back!”

Fly Casting Tip: Flick the Tomato

When teaching kids and adults the art of casting a fly, one of the hardest things to get across is to not try too hard. The harder and faster your move the rod back and forth the less it seems to work. Here’s another gem of wisdom from The Little Red Book of Fly Fishing new, which is a collection of 250 tips from Kirk Deeter and the late, great Charlie Meyers.

This tip is about working on smooth acceleration while casting.

Flick the Tomato

The best casting motion involves a gradual, controlled acceleration to an abrupt stop. For most people that’s easier said than done, so here’s the tip.

Imagine that you have a soft tomato stuck on the end of a stick, and you want to fling that tomato at your best buddy standing 20 feet away, how would you do it? If you whip the stick, you’ll end up blasting yourself with mushy tomato. If you gradually fling the tomato off the stick, you might get your buddy instead.

Another way of thinking about this is to imagine throwing water from a glass. You pick up the glass, accelerate, aim, and then stop to let the liquid fly.

Same deal and same feel with the fly cast.

Fly Casting Tip: Say Hello to a Good Cast

Say Hello to good casting

Here is another tip to help you to get used to starting and stopping the rod at the correct angles.

Imagine you’re using an old wall telephone, standing a couple of feet away. Say “hello” when you bring your rod hand smartly back beside your ear, keeping your arm perpendicular, and then “whisper” goodbye as the phone returns to the cradle.

Again, perform this with crisp stops and starts and you will be stopping the rod correctly.

The Snap T Cast – Spey Casting 101

The “Snap T Cast” is a two directional cast. One in which the fly will anchor on the upstream side of the caster. Therefore this cast provides a level of safety when you encounter an upstream wind. This will prevent you from wearing an “Intruder Fly” earring. This cast also is good when you encounter limited backcast room. This cast can be set up with a minimal “D-loop” behind the caster if necessary.


The “Snap T” cast was developed by Pacific Northwest anglers, George Cook, John Farrar and Dec Hogan. It is used as an alternate to a “River Left”, “Single Spey” cast. This cast is quite east to master and is great for when learning to spey cast.

Here’s a video by the late and great Bill Lowe showing you the “Snap T Cast”


When to consider using the “Snap T” 

  • Upstream Wind
  • Limited Backcast Area
  • Makes little disturbance on the water
  • Minimizes line positioning and maximizes fishing time

Situations when to use a “Snap T” cast for a Right Handed Caster

  • Single Spey From “River Left” with an upstream wind over your strong shoulder (Right Handed)


  • Reverse Single Spey from “River Right with an upstream wind over your off-shoulder (Kackhanded)

Fundamentals of the Snap T Cast

  • The principal of the Snap T cast is to bring the rod and line partially upstream, then imediately “snapping” the rod to the starting position in a “&gt;” move.
  • The “snap” will flick the remaining line, leader and fly upstream.
  • After the fly lands upstream at the anchor point, the rod is swept around and upstream and circles up and into the forward cast.

Here’s the steps involved with throwing a Snap T cast

  1. While standing on the left bank, “River Left”, Start with your normal hang down length, (hang down is the amount of line out of your rod tip when you start a cast), laid out straight at the end of the dangle. Face your shoulders in the direction of the forward cast and hold the rod tip low to the water surface with your right hand on top.
  2. With the rod tip in a low position, sweep the rod from left to right on a slight incline eventually rising close to 30 degrees from the horizontal, or about at eye level.
  3. The rod inclines on an incline sweep and rotates about 90 degrees from the start position, (basically pointing straight across stream). Without hesitating, the rod tip is redirected downstream and back towards the starting position (or back towards the downstream bank) with a “V” shaped “snap” This “snap” drives the remaining front portion of the line off the waters surface and to the anchor point slightly above the path of the forward delivery.
  4. After the “snap” is made there is a slight pause as the line leader and fly position to the anchor point, about a rods length upstream and slightly forward of the caster.
  5. As the fly anchors, the rod sweeps upstream low to the horizon until it crosses the path of the intended cast. In a continuous motion the rod drives back to drive the “D” loop or possible a “V” loop, 180 degrees from the target line. The rod circles up to form a “D” loop and then smoothly accelerates into the forward cast.

Get out and practice until you’ve got it right.

The Single Spey Cast – Spey Casting 101

The “Single Spey” is a two directional cast. One in which the fly will anchor on the upstream side of the caster. Therefore this cast provides a level of safety when you encounter an upstream wind. This will prevent you from wearing an “Intruder Fly” earring. This cast also is good when you encounter limited backcast room. This cast can be set up with a minimal “D-loop” behind the caster if necessary.


When to consider using the “Single Spey” 

  • Upstream Wind
  • Limited Backcast Area
  • Makes little disturbance on the water
  • Minimizes line positioning and maximizes fishing time

Situations when to use a Single Spey Cast for a Right Handed Caster

  • Single Spey From “River Left” with an upstream wind over your strong shoulder (Right Handed)


  • Reverse Single Spey from “River Right with an upstream wind over your off-shoulder (Kackhanded)

Fundamentals of the Single Spey Cast

  • Start with a “Shotgun Lift”. This is the most popular lift, it is easy to master and provides a smooth anchor placement.
  • Start with the line straight on the dangle and extend the arms slightly with the rod tip at the waters surface.
  • Begin lifting with the rod butt by raising both arms vertically until the top hand is at eye level. This is the top of the lift.
  • Do the rise smoothly and with enough effort to raise about half of the working line.
  • In a seamless manner, follow with a smooth shallow dish movement of the rod tip as the rod sweeps the line up river.
  • In doing this the top hand lowers sightly, applying enough thrust to clear the remain line on the dangle.
  • The slight downward dip will develop a strong thrust into the lift.
  • The rod as it is sweeping through the shallow dish, dips downward slightly from the top of the shotgun lift position, then curves upward on an incline as it circles around to drive a “D” loop.
  • The top hand drives back, rising to where the palm of the top hand is adjacent and level to the ear.
  • The “D” loop forms and the top hand drives forward ending at the stop with the thumb of the top hand at eye level. 
  • This results in a straight and smooth forward delivery.

Added Thoughts

  • Pick a target line on the opposite bank slightly diagonally downstream.
  • Use this line to establish the “D Loop” 180 degrees opposite from it.
  • If your “D Loop lands downstream of this target line you will cross it and tangle on the “Forward Cast”.
  • This is a “Touch and Go” cast which is an airborne anchor cast. As soon as the end of your fly line touches at your “D Loop” position, and you have reached the “Set Position”, start and execute the forward cast.
  • Make sure the line touches and does not stay airborne.

Summary


The “Single Spey” is one of the basic casts that you need in your arsenal of casts and you will find uses for it in many fishing situations.